What to Look For
How we light a subject is a vital part of art—in fact lighting is an art.
View Segment 12
Here again is that simple underlying guideline:
Rule:
Three tones express three dimensions.
THREE IS OUR MAGIC NUMBER when it comes to capturing three dimensions. We then can assume that separating the tones of a subject into three groupings can capture its depth.
Every subject possesses its own full range of tones. We can divide each full range into three ranges (groupings): a LIGHT, a MIDDLE, and a DARK
View Segment 13
Lighting a subject from one direction makes it easier to distinguish the three ranges than when light strikes it from multiple directions.
View Segment 14

Standard Lighting
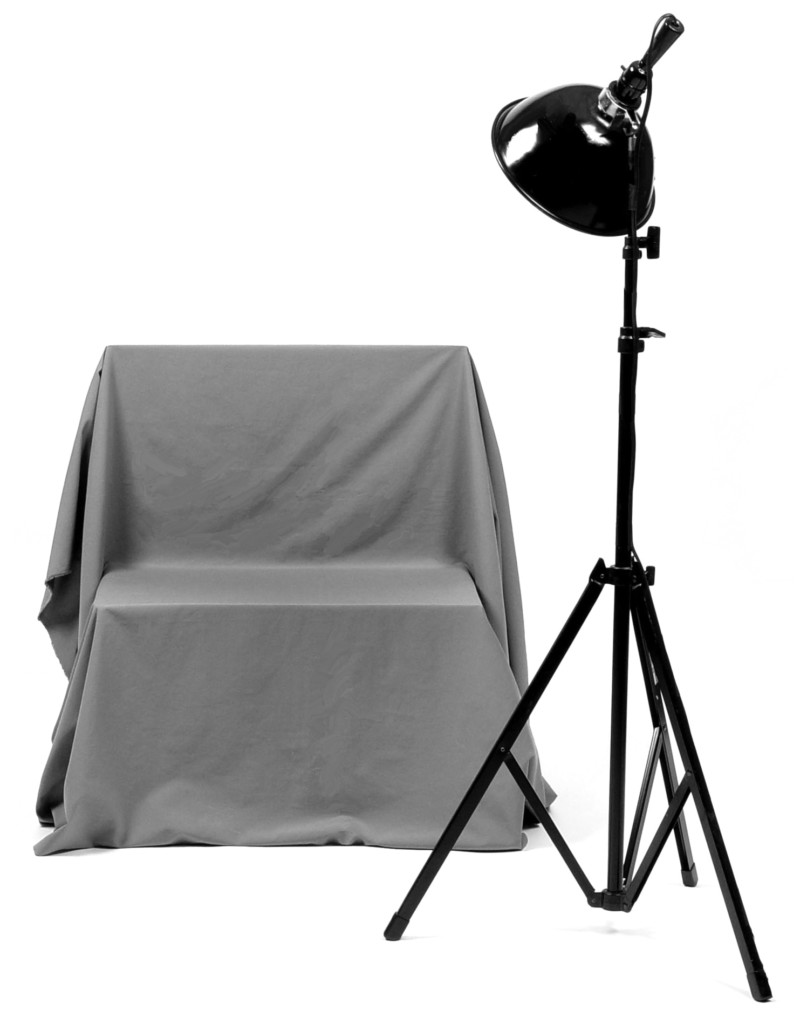
Place a lamp with a 60 or 75 watt bulb at a 45-degree angle to the subject, a few feet away from either corner of the stand.
Exercise:
To become familiar with standard lighting, and why we use it, arrange a setup with three simple props on a middle tone backdrop and then do the following:
1. Place the lamp three to four feet away, and at a 45-degree angle to the setup so light strikes one side and the front of it equally. Direct the light down into the props but aim it to strike slightly more in front than in back.
Work on drawings in normal room light.
2. Identify the full range of tones of the setup in terms of numbers on your chart (for example 1 to 8 or 3 to 9).
3. Add some additional lighting striking the setup from other directions and then try to distinguish the three ranges.
4. Turn off all of the lights except your lamp and try distinguishing the ranges again. It should be a little easier.
5. While squinting, partially closing your eyes, try again to distinguish the ranges. Now it should be even easier.
View Segment 15
Exercise Continued:
6. Gradually move the lamp toward the setup and watch the contrast grow. Then move it farther away and watch the contrast lessen.
7. Gradually move the lamp closer to the setup and watch the middle range get smaller. Then move it farther out and watch the same range grow larger.
The prior group of steps have demonstrated the following:
Rule:
Lighting creates and controls the tones.
There is an important difference between lighting a subject with standard lighting and having light strike it only on one side.
Exercise Continued:
8. Place the lamp to one side of the setup and direct the light onto that side only. Sit down. Then notice the reduction in the size of the middle range compared to the dark and light ranges.
9. Reposition the lamp for standard lighting and notice a more favorable and equal distribution of the three ranges.
Only use STANDARD LIGHTING while on the course unless directed to do otherwise.
View Segment 16
The segment you just watched leads to this guideline:
Rule:
The angle of a surface to light dictates the tone.
This, along with the natural tone of a surface and the distance it is from the light, explains the reason for any tone. Arrange two simple props on a middle tone backdrop and light them.
Exercise Continued:
10. Hold up a white card to each surface of the light range and notice the change in tone. Hold up a series of angles against curved surfaces. As you change the position of the card, notice its angle to the light and change in tone.
Pick out the precise angle where the light range ends and the middle begins.
11. Do the same as you did above with surfaces of the middle range.Pick out the precise angle where the middle range ends and the dark begins.
12. Notice a dark tone is present wherever there is an absence of light, or a surface is naturally dark. Hold the white card against each surface and see how the darks grow even darker as you turn the card farther from the light.
13. Slowly move the lamp to the right of the setup and then to the left. Observe the gradual changes of each range.
View Segment 17
Exercise Continued:
14. Observe the various HIGHLIGHTS (reflections of light sources) on the props.
Replace your props with a single dark bottle (or any prop with a shiny surface).
15. Notice how easily highlights form on a shiny surface. Squint at the highlights and notice the size and brightness of each.
16. Turn off the lamp. Notice that the highlights from your lamp disappeared and those that remain are reflections of other lights.
Using highlights from a single light source reduces the chance of confusion from too many lights.
17. Turn on your lamp and notice the highlights produced by your lamp. Hereafter, disregard all the others.
Line up some simple props on a middle tone backdrop and light them with standard lighting.
18. Create a drawing of each prop, putting in their tones any way you like. Have fun just drawing, and after a while continue the workbook.
Note: I recommend using your white pastel and compressed charcoal only for your very lightest and darkest parts of a drawing. Work primarily with vine charcoal.
